


Want to create heirloom photos with your iPhone?!


How to Create Heirloom-Style Black & White Photos Using Just your iPhone
There’s something timeless and so special about heirloom photos. They carry the mood of a memory—soft light, delicate grain, and the kind of composition that feels like a gentle nod to the past. The best part? You don’t need a vintage camera or fancy gear to achieve this. Your iPhone has everything you need to create beautiful, black-and-white heirloom photos right in your hand.
In this post, I’ll walk you through how to shoot and edit these types of images using your iPhone’s native camera and editing tools—no third-party apps required!

⸻
Step 1: How to Shoot
Lighting Tips:
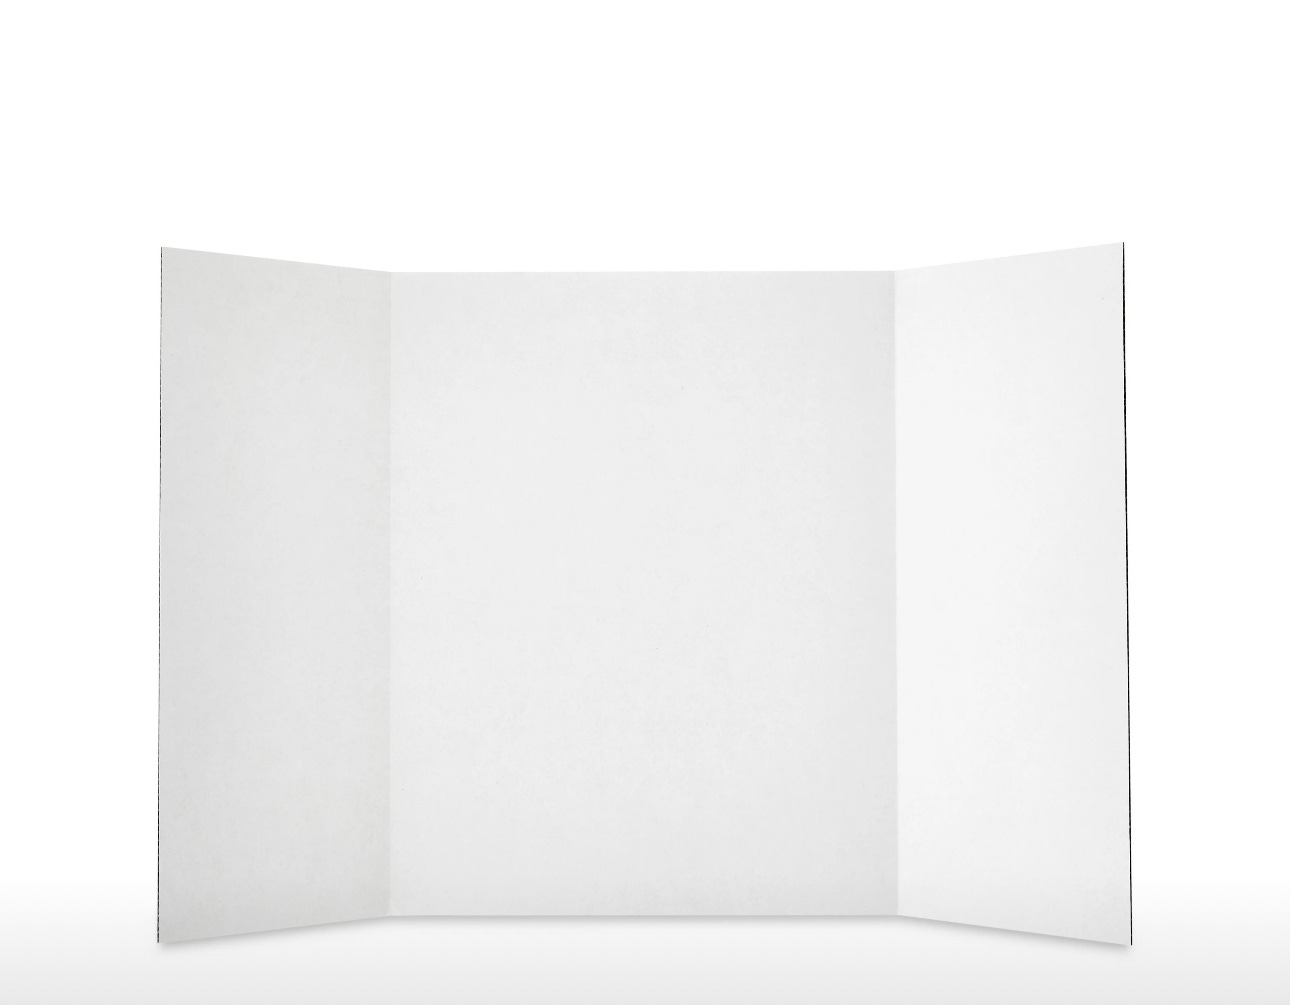
• Golden hour (the hour after sunrise or before sunset) offers the most flattering, warm light. You can set up this poster board on your front porch at Golden hour!
• For indoor shots, stand near a window, but not in direct light so there are no shadows.
Styling Tips:
• Use a white background. I found this poster board online and did a Walmart pickup order for it! It’s only $3 and the easiest background!
Outfit Tips:
• Choose neutral or warm-toned outfits—think linen, lace, or cotton in whites, creams, and taupes. Linking some of my favorite heirloom outfits here!
⸻
Step 2: Capture the Photo with your iPhone Camera
• Try using both portrait mode and camera mode to see what creates the best shot or your environment.
⸻
Step 3: Edit on your iPhone
Now for the magic—turning your shot into a timeless black-and-white image.
Open the photo you want to edit and tap the lines with the 3 dots at the bottom.
Scroll over to SATURATION - move all the way over to -100.
VIGNETTE - move all the over to -100.
EXPOSURE - move the bar to the right for positive + exposure numbers and adjust until it looks the best.
SHADOWS - move the bar to the right for positive + exposure numbers and adjust until it looks the best.
HIGHLIGHTS - move the bar to the right for positive + exposure numbers and adjust until it looks the best.
It takes a bit of practice, but based on your lighting, you can play around with these settings until you get the look you’re wanting to achieve!! (Note: If you mess up, you can always start over. Click the 3 dots at click Revert to Original.)
⸻
Step 4: Printing - I personally like to have mine printed at Walgreens on Matte. You can do this online and have it mailed to your home! Check for coupons too because they are always running a special!
⸻
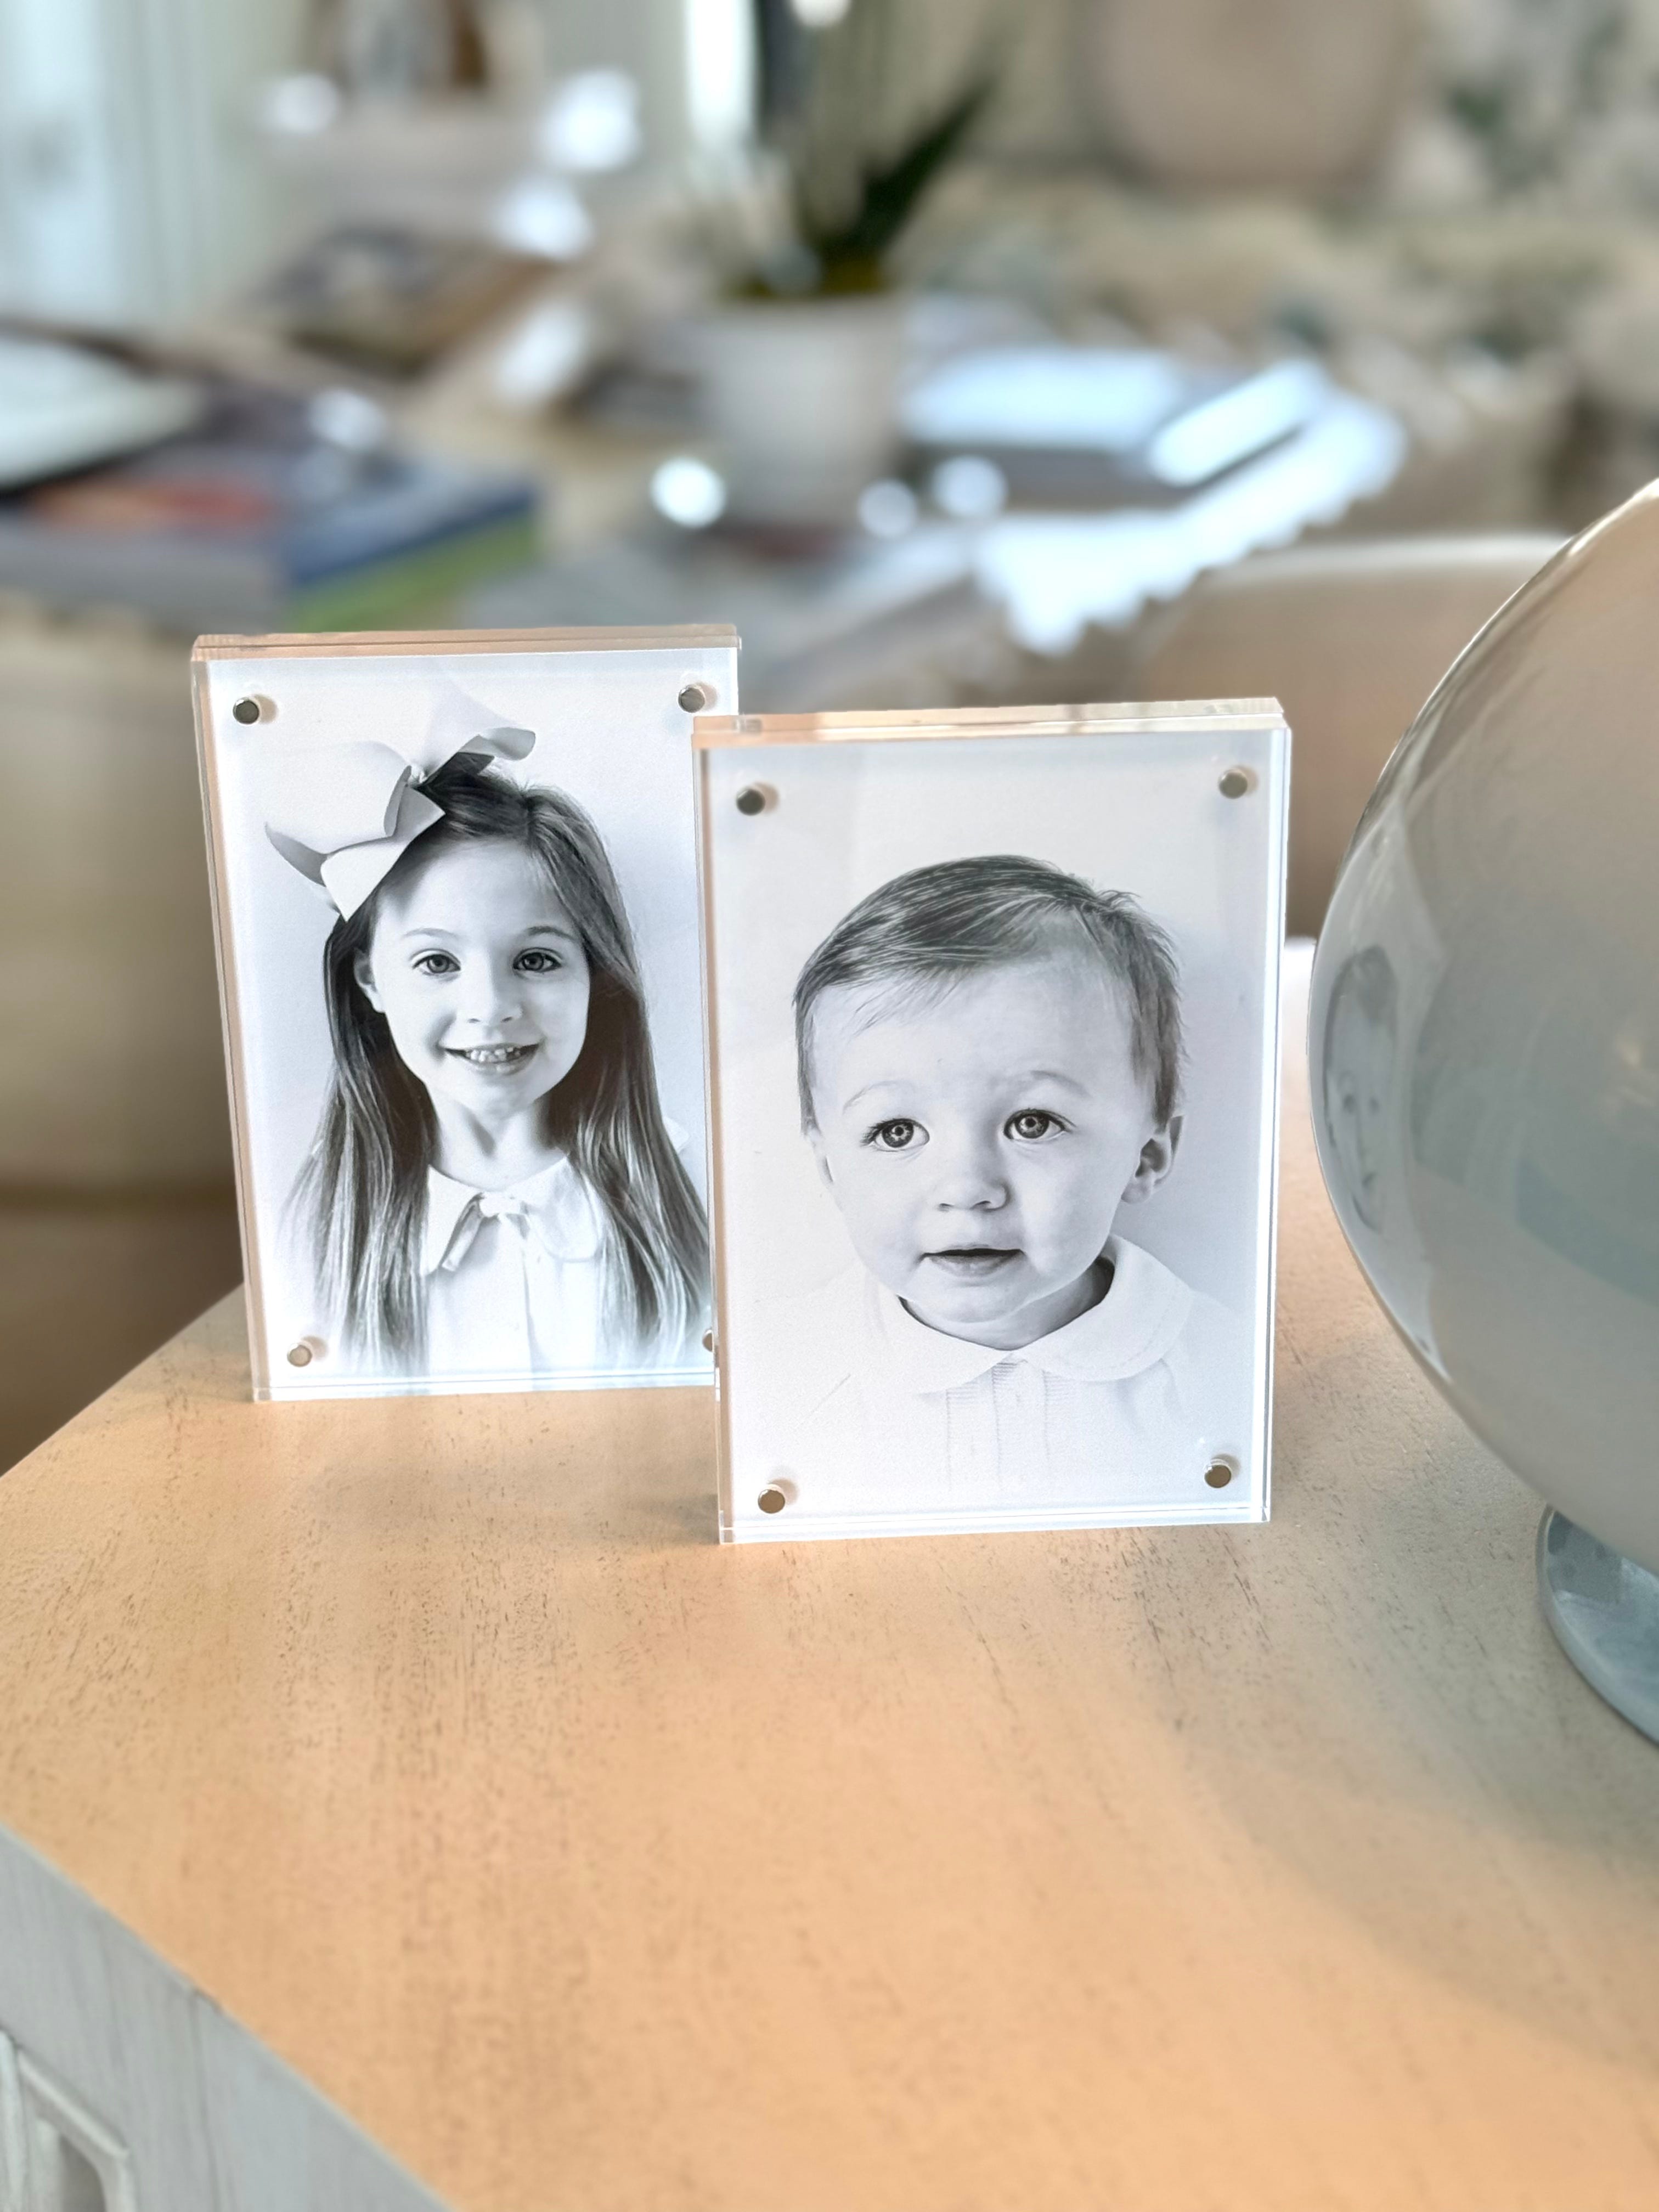
Step 5: Frame it! Here are the exact acrylic frames I used, but I also have a whole roundup of beautiful frame options!
I’d LOVE to see your photos if you use this method, so be sure to tag me or send!!!
xoxo,
Brooke
This was so helpful—thank you!!